Why Make Rakhi at Home?
Do you want to make a special Rakhi for your brother this year?
Imagine his smile when he sees the Rakhi you made just for him! Making a Rakhi at home is not only fun but also a great way to show your love.
Have you ever wondered how people make those beautiful Rakhis you see in stores?
Well, it’s easier than you think! In this guide, we’ll show you simple steps to create your very own Rakhi.
You don’t need a lot of things—just some colorful threads, beads, and your creativity.
In this blog post, we will show you step-by-step DIY Rakhi making tutorials. These rakhis are easy to make and require only basic materials that you can find at your local craft store.
IGP Rakhi – Your Trusted Partner for Online Rakhi Shopping, But if you’re looking for a personal touch, why not make your own?
Gift Now – Buy/Send Best Selling Rakhis & Gifts Online in India – IGP Rakhi
Paper Rakhi – A Colorful Classic
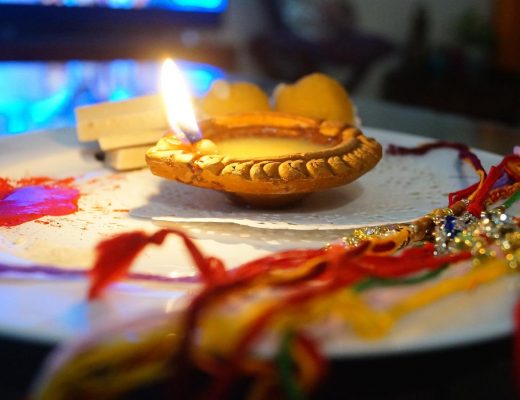
The true essence of Raksha Bandhan lies in the love and affection shared between brothers and sisters. While a store-bought designer or personalised rakhi can also convey your feelings, a homemade one brings a sense of creativity, personalization, and heartfelt connection. It is a unique expression of love entwined in every stitch and knot.
The joy of making homemade rakhis and the satisfaction of creating something with your hands and infusing your care and love into it remains unparalleled. Below are the necessary materials and steps to make a homemade rakhi.
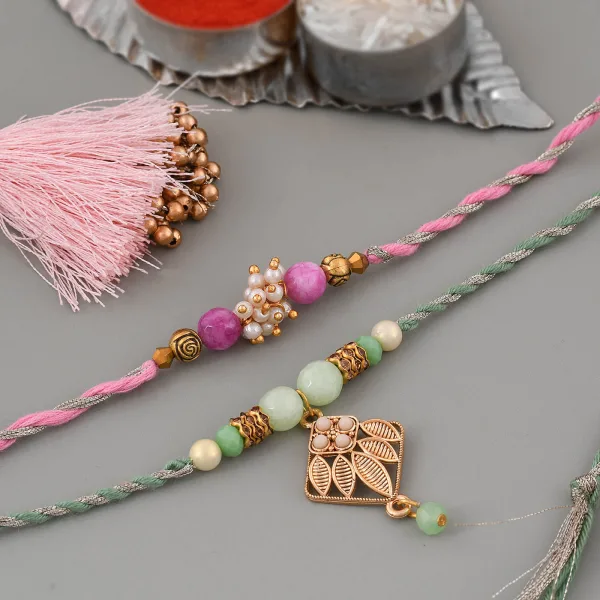
Rakhi Thread
The thread becomes the base of your rakhi. You can choose any material, such as silk, cotton, or any other decorative material. Depending on your chosen design, opt for a thread with your preferred colour, thickness, and texture.
Sisters often choose threads according to their brother’s taste or auspicious colours like red, yellow, or gold.
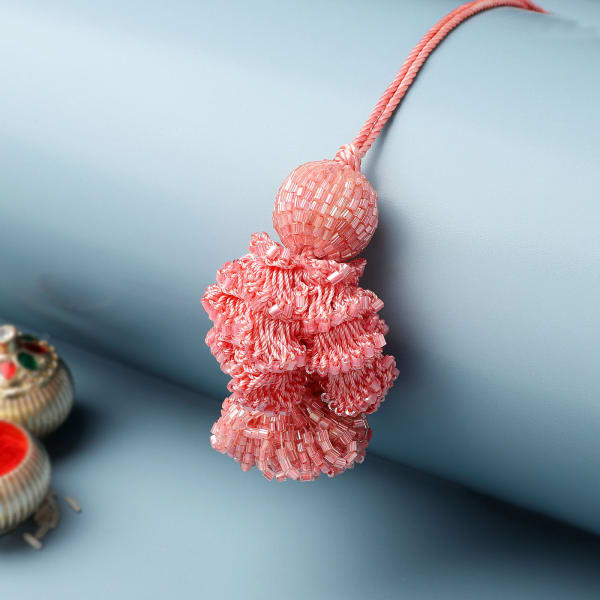
Beads
Beads are a popular choice for making rakhis. They are available in various shapes, sizes, and colours, which allows you to make a rakhi of your choice. Choose from glass, plastic, metal, or even gemstone beads to add sparkle and charm to your homemade rakhi.
Flowers
You can use artificial or even fresh flowers to make your homemade rakhi, as they add a touch of nature to your design. While fresh flowers can last a few days, artificial ones can be preserved far longer.
The use of flowers adds a layer of elegance and symbolizes growth, positivity, and the fleeting nature of life. Small flowers like roses, marigolds, or orchids can enhance the beauty of your design. They add a vibrant and fragrant touch to the homemade rakhi.
Sweets
Sweets are an important part of Raksha Bandhan. Sisters often prepare homemade sweets to showcase their culinary skills and convey their love and care. If you can incorporate them into your rakhi design, it can become one of the most unique ideas.
Attach small packets of traditional sweets, such as ladoos or chocolates, to the rakhi and give your beloved brother a sweet and nutritious surprise.
Gift Now – Rakhi Hampers: Rakhi Hampers for Brother & Sisters Online
Paper Rakhi – A Colorful Classic
Here’s what you need
* Colorful Paper (Preferably in 2 different colors)
* Ribbon
* Glue
* Scissors
* Coin
Procedure
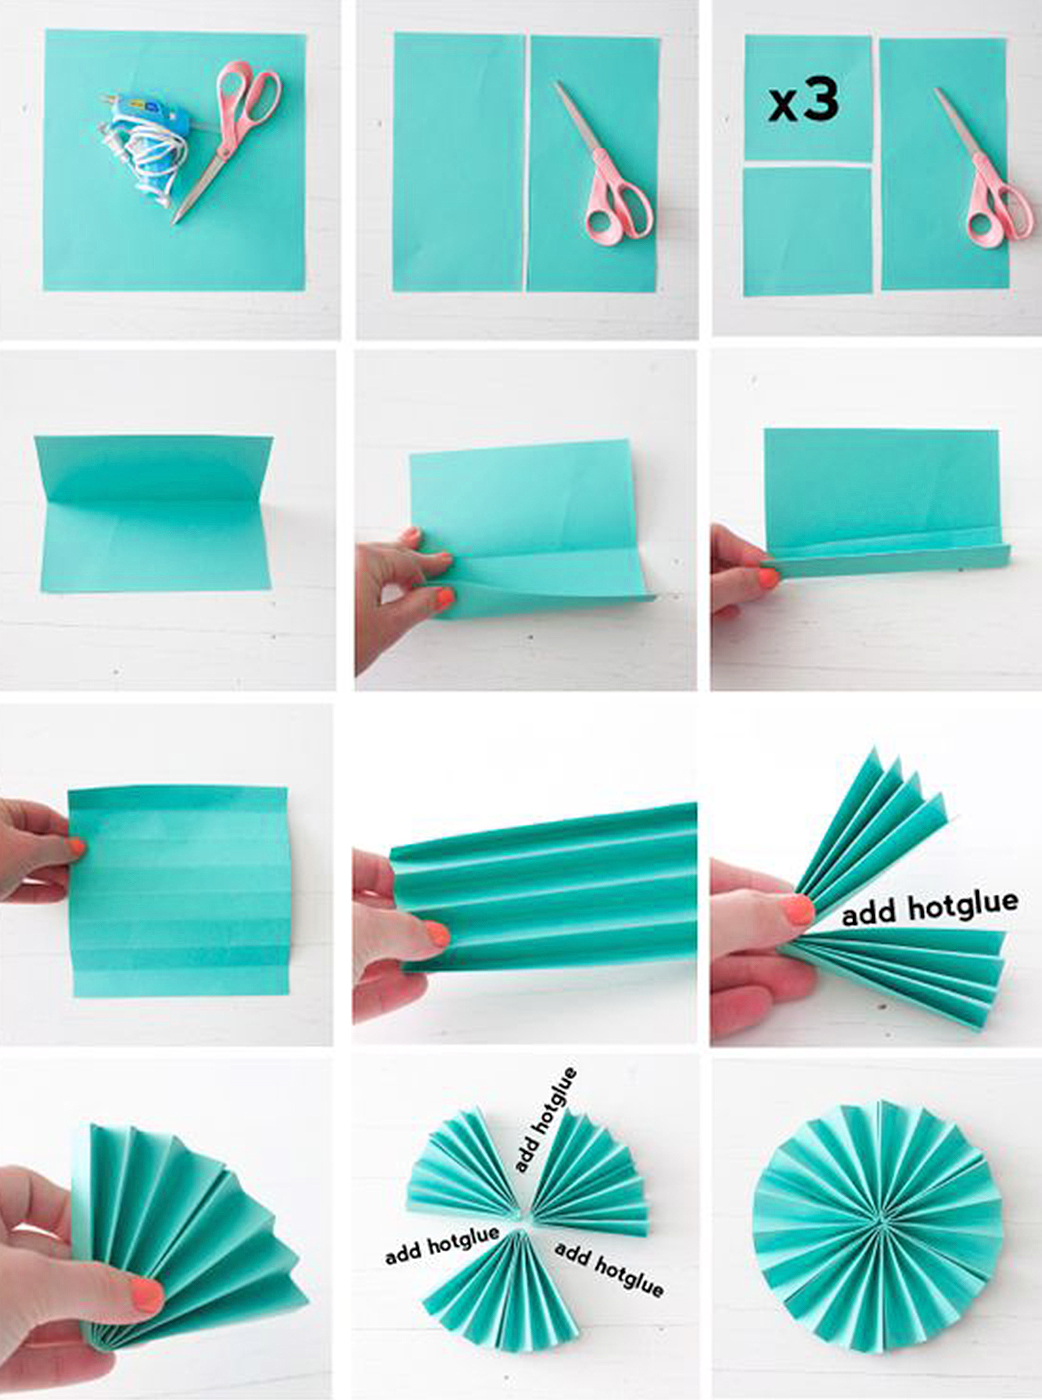
- * Cut different size 4 Squares of the colored paper.
- * 2 big, 2 Small of the size 1 inch – 1.5 inch respectively. You can also choose the size you want. Also, cut small circles as that will be the base of your Rakhi
- * Put some glue on the Bigger Squares and attach the Smaller Squares on it
- * Turn the squares you glued upside down and start folding them in a zigzag pattern as shown in the picture.
- * Repeat this procedure with the other square as well
- * Attach these two zigzag squares together. Bring the remaining sides together to form a fan.
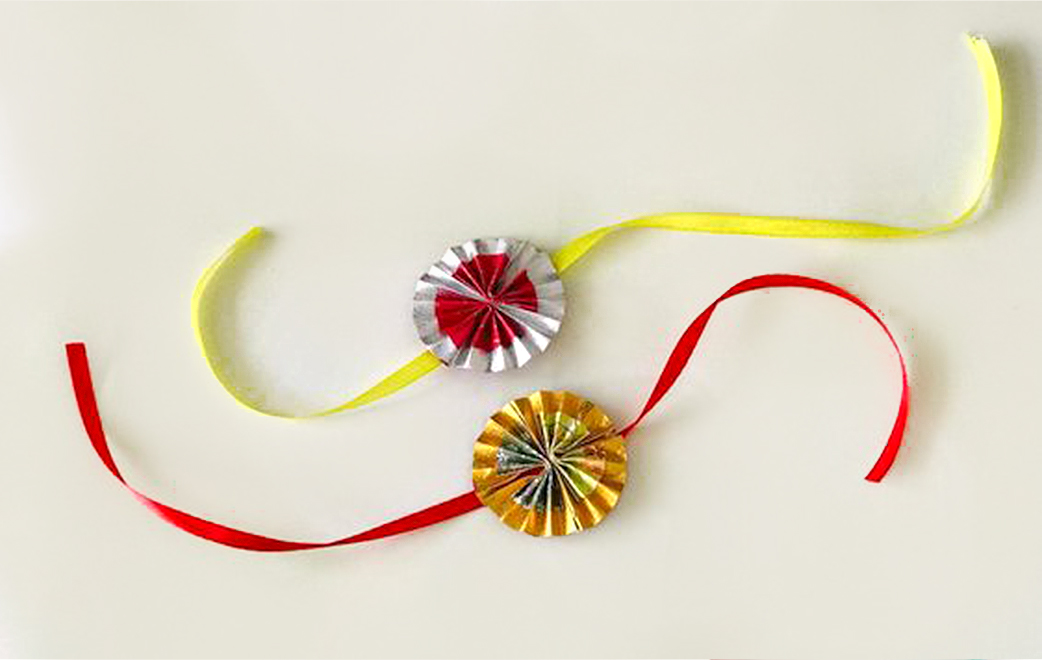
- * Take the Ribbon you cut measuring your brother’s wrist. Glue the circle in the center of the Ribbon
- * Place the DIY Fan on it and let it dry
- * Your Customised DIY Rakhi is Ready
Kids’ Rakhi – Fun & Easy Craft
Here’s what you need
* Colorful Silk Threads or Satin Ribbon
* Cartoon Stickers
* Glue
* Cardboard or Craft Paper
* Sparkles (If you have or optional)
P.s: Even a glittery nail polish can be used for this purpose.
Procedure
- * Cut the cardboard or craft paper into a 2-inch circle or the size of your Sticker
- * Take the ribbon. Glue the circle you cut in the center
- * Stick the sticker on top of the circle
- * Add sparkles on the side for more fun
Pro Tip: Sticker Rakhi can be made in various shapes n sizes. If you don’t have a sticker you can create animals with colorful cloth.
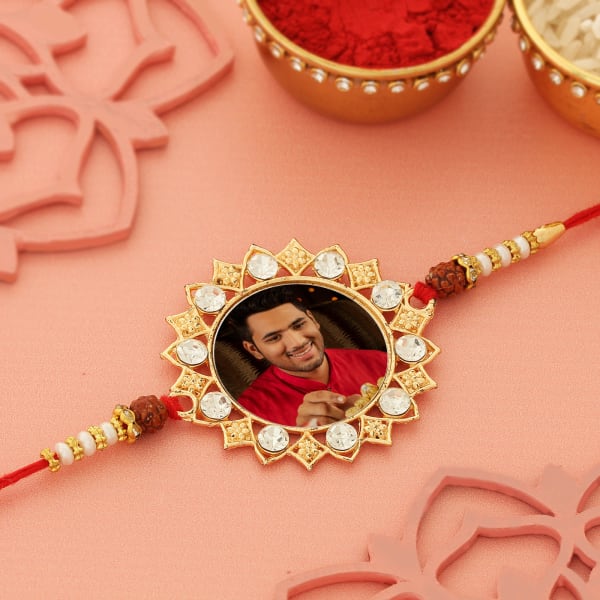
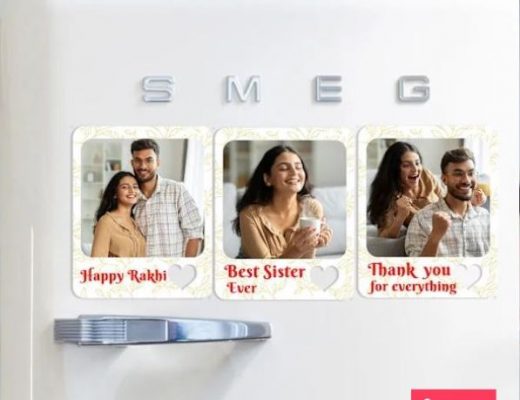
Make Photo Rakhi – Personalized with Love
Here’s what you need
* Nylon Thread
* 1 Coin
* 1 picture of your brother
* Glue
* Soft Cardboard
Procedure
1. Take a picture of your brother and sisters. Cut it in the size of the coin
2. Glue the picture on the coin
3. Now take a craft paper cut it into a small square
4. Glue the coin in the center of the square
5. Now decorate the square paper with pearl chain, glitter or Kundan stick-on. (Anything that you have handy)
6. Then take the Nylon Thread and glue this square in the center.
7. Picture Rakhi designed is Ready
Pro tip: You can make it in various shapes, sizes and decorate it to look fancy. There is no end to creativity.
Gift Now – Personalized Photo Rakhi and Rakhi Gifts for Brother & Sister Online
DIY Wool Rakhi – Soft and Simple
Make Rakhi with wool is very easy and interesting task. You can make Rakhi with wool within few minutes. It is very beautiful and attractive Rakhi. You can also design it with different colors.
For making Rakhi at home you will need some materials. You can collect all materials from any craft shop. For making Rakhi with wool you will need
Here’s what you need
* Woolen thread
* Scissors
* Beads
* Glue
* Chain
* Lace
Procedure
1. Cut two pieces of wool, each about 60 cm long.
2. Make a loop with one piece of wool and tie a knot at the top. This will be the center of your Rakhi.
3. Take the other piece of wool and start wrapping it around the center, making sure to cover the knot completely.
4. Continue wrapping the wool around the center until you have used up the entire length.
5. Tie a knot at the end of the wool to secure it in place.
6. Trim any excess wool from the ends of your Rakhi.
Now that you know the basics of making a rakhi at home, choose the style you like best and start creating your DIY rakhi. If you prefer a video tutorial, here’s a visual guide to making your homemade rakhi. you can also discover fun DIY handmade Rakhi projects.
Enjoy crafting and have a wonderful Raksha Bandhan! If you enjoyed this blog, you might also like our post on the best Rakhi and gifts for brothers on Raksha Bandhan.
Also Read,
Types of Rakhi – Explore a Variety of Rakhi Styles and Designs
Heart Touching Raksha Bandhan Quotes
10 Affordable Stylish Rakhi Choices for Raksha Bandhan
No Comments